You may wonder what a Moisture Barrier is, and why it may be needed. Read the article to find out.
Note:
Some contents in this article may contain external links. For more information, please refer to our
Privacy Policy
Many individuals are uncertain about the purpose of a moisture barrier when it comes to flooring. Is it necessary? And if so, when should it be used? Furthermore, what exactly does a moisture barrier accomplish?
In general, there is a misconception that vapor barriers are solely utilized in constructing walls. However, they are also used in flooring, where they are commonly referred to as moisture barriers.
By gaining a better understanding of the functions and application of moisture barriers, we can address the fundamental question: Do you require a vapor barrier when installing new flooring? This is the topic we will delve into and provide an answer for. Let’s explore further!
What is a Vapor Barrier?

Water vapor has the potential to cause significant harm to your residence. For example, if your flooring becomes wet, it can lead to the growth of mold and mildew, ultimately resulting in the destruction of your floor (source). This is an undesirable outcome, which is why vapor barriers are employed to prevent the floor from becoming wet.
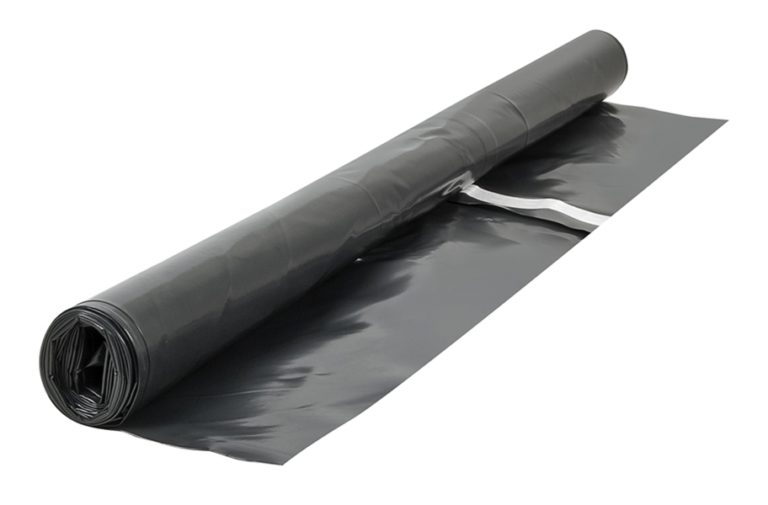
A floor vapor barrier, also referred to as a moisture barrier, typically consists of a plastic sheet that hinders the movement of moisture through a wall or subfloor. It is utilized when installing floors or walls in areas that are prone to dampness or excessive moisture, such as basements, ceilings, or crawl spaces (source).
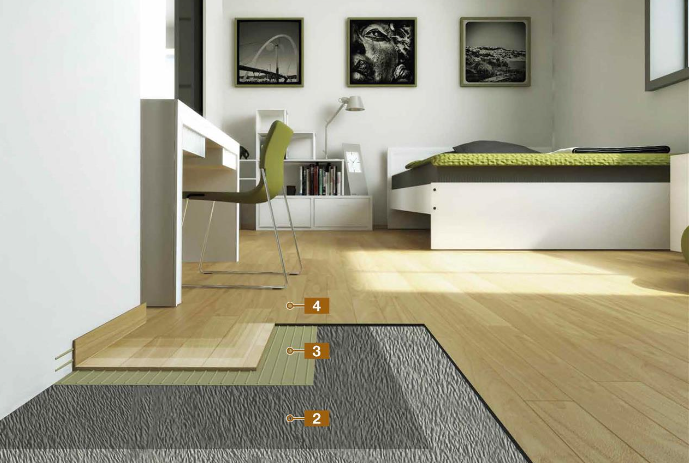
Flooring moisture barriers are positioned beneath the floor’s underlayment. You have the option to purchase a separate barrier or acquire underlayment that already includes a moisture barrier. In the event that any water vapor manages to penetrate through a concrete subfloor, the vapor diffusion retarder slows down the moisture’s movement, thereby preventing damage to the floor.
Vapor Diffuser Classifications

Water vapor is quantified using a unit known as “perms” or permeability. In order to gain a deeper comprehension of a substance’s capacity to impede the movement of moisture, vapor barriers are classified into three distinct categories based on the extent to which water can permeate the material.
Vapor retarders are categorized into three classes based on their permeability. Class I vapor retarders are impermeable, meaning they do not allow any fluid to pass through. This makes Class I the strongest class of vapor barriers.
- Class I vapor barriers include glass, sheet metal, plastic sheets, and rubber membranes.
- Class II vapor retarders are semi-permeable, allowing some fluid to flow through. Materials such as unfaced expanded or extruded polystyrene, 30-pound asphalt-coated paper, plywood, or bitumen coated kraft paper fall under this category. Lastly, Class III vapor retarders are permeable, allowing water vapor to pass through.
- Class III vapor barriers include gypsum board, unfaced fiberglass insulation, board lumber, concrete block, brick, or 15-pound asphalt coated paper. These materials provide a certain level of permeability to water vapor.
When Do You Need a Moisture Barrier?
To ascertain the necessity of a moisture barrier for your flooring, it is essential to take into account three key factors: the installation location, the grade level of the floor, and the type of subfloor being installed upon.
Climate
Vapor barriers are less prevalent in mild climates. Yet, in extreme climates with snowy winters, frequent April showers, and humid summers, a vapor diffuser may be essential.
Grade Level
Moisture barriers are essential on certain levels of a home more than others. For example, basements are typically below-grade, making them more susceptible to moisture. Consequently, areas with higher levels of water vapor would require a moisture barrier. In the absence of a basement, the ground level may be at a higher risk of moisture infiltration.
Subfloor Material
A vapor barrier is usually necessary when laying flooring on top of concrete. In regions with high humidity, moisture can travel from high-humidity areas to low-humidity areas, including through concrete. Given that concrete is permeable, it is advisable to place a vapor barrier on the concrete subfloor prior to installing the flooring. This will help prevent water vapor from seeping up to your floors, safeguarding them against potential harm.
To determine if moisture is seeping through concrete, cover the concrete with a plastic sheet and let it sit for 24 hours. If you notice condensation on the plastic when you remove it, a moisture barrier is necessary.
After evaluating your climate and materials, you can determine if a vapor barrier is needed for your floors.
How to Choose and Install a Flooring Moisture Barrier

Choosing a Flooring Vapor Barrier
There are various options available for vapor barriers when installing new flooring. It is crucial to understand the distinctions between each type and select the one that is most suitable for your flooring. Let’s discuss the different choices for flooring installations.
1. Vapor barrier rolls are available that can be taped together to create a complete floating sheet. Some of these rolls even offer a self-taping feature.
2. Underlayment with an attached vapor barrier is another option to consider.
3. Moisture barriers that can be glued down to the subfloor are also available.
4. There are barriers that can be rolled or painted on, which can be used not only for flooring but also for showers.
When choosing a moisture barrier, it is essential to consider the type of flooring being installed. To ensure the right barrier is selected, it is advisable to consult with a sales representative or flooring professional. Additionally, reviewing the manufacturer’s guidelines for the flooring is important. This will guarantee the use of a suitable vapor barrier for your floor.
Installing a Flooring Moisture Barrier
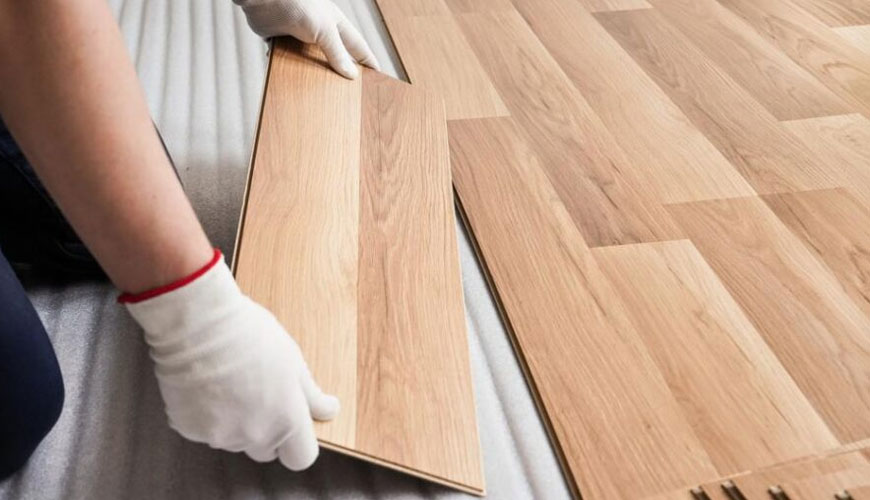
Once you have selected the appropriate moisture barrier, the installation process becomes straightforward. If the barrier is already attached to your underlayment, simply proceed by installing the underlayment and then placing your new flooring on top.
However, if you opt for a barrier that necessitates adhesive, such as tape or glue, you will need the chosen vapor barrier adhesive, a utility knife or scissors, and your vapor barrier. Follow the steps below for this type of installation:
1. Begin by laying out your moisture barrier in any area where moisture is a concern.
2. Along one edge of the room, secure your sheet to the subfloor using tape. When connecting two sheets, ensure that they overlap by six inches and utilize vapor barrier tape to bond them together, ensuring excellent moisture control.
3. Continue moving along the room, starting from the same edge, until the entire area is covered.
4. It is crucial to remember that the vapor retarder should be a continuous sheet without any damages or holes. If there are any punctures or tears, make sure to repair them before proceeding with the installation, as this could potentially allow moisture to seep through.
We’re here to help!
If you’re looking for flooring inspiration, we have the perfect place to start. Come visit our showroom located in North Phoenix, or utilize our Online Visualizer.
Got more questions, contact us today. We’ll be more than happy to assist you.
Share This Article

